
Prescription Lenses for INMO GO3
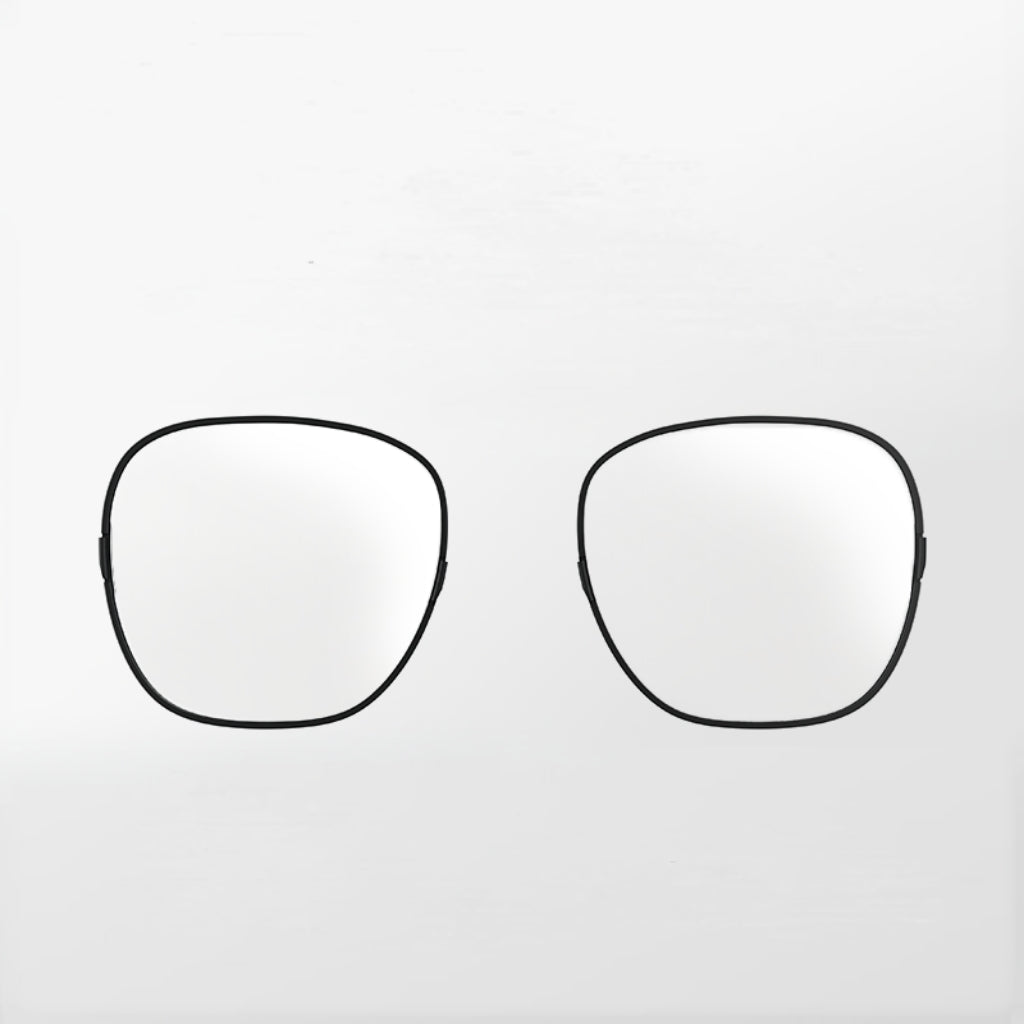
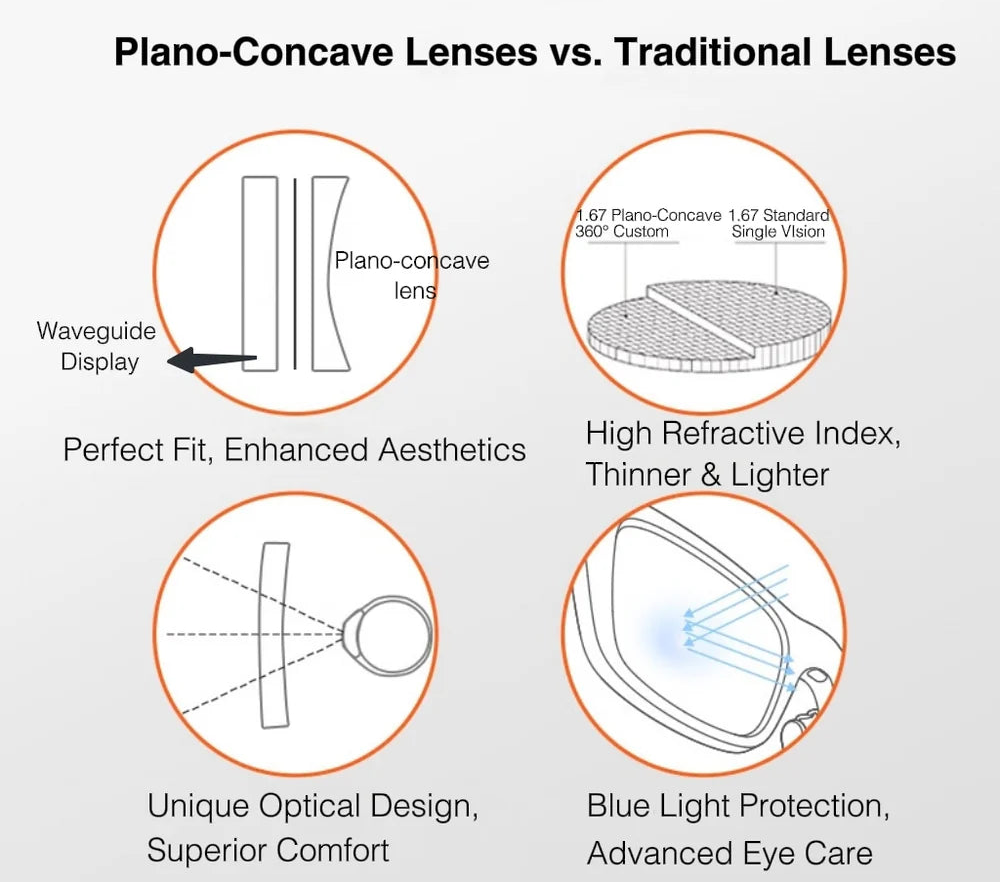
INMO GO3 prescription lenses are custom-made to your prescription.
GO3 supports myopia (nearsightedness) and astigmatism. Hyperopia (farsightedness) is not supported.
Precision-ground and clipped into your GO3 in seconds — so you can see the display, and everything else, clearly. No contacts. No glasses over glasses.
Note: INMO Go3 prescription lenses are custom-made and non-returnable.
Prescription Lenses for INMO GO3
If you have any questions, you are always welcome to contact us. We'll get back to you as soon as possible, within 24 hours on weekdays.
-
Shipping Information
Use this text to answer questions in as much detail as possible for your customers.
-
Customer Support
Use this text to answer questions in as much detail as possible for your customers.
-
FAQ’s
Use this text to answer questions in as much detail as possible for your customers.
-
Contact Us
Use this text to answer questions in as much detail as possible for your customers.
-
Information
Share contact information, store details, and brand content with your customers.
Specify your lenses
How to specify your lenses
Non-prescription
Choose this if you have 20/20 vision, or if you plan to wear your GO3 over contact lenses. Non-prescription lenses let you use every feature of the GO3 without any vision correction.
*Your GO3 can be upgraded to prescription lenses later, either through our optician partners or our reglaze service (additional fees apply).
Single vision (distance correction)
The right choice if you need correction for distance — driving, watching TV, seeing across a room. Single vision lenses correct nearsightedness and astigmatism with one focal point optimized for sharp distance clarity.
*If your prescription includes a reading addition (ADD), only the distance portion is applied. Near-vision correction is not applicable on GO3: the waveguide projects the display at a virtual distance of [2] meters, so you need adequate distance vision to see it clearly.
Progressive
Available exclusively through our optician partners. Progressive lenses deliver near, far, and intermediate correction in a single seamless lens, so you don't swap glasses through the day.
Understanding your prescription
Sphere (SPH) — The lens power required for each eye. A minus sign (−) corrects nearsightedness; a plus sign (+) corrects farsightedness.
*For GO3, enter your distance prescription only. Near prescriptions are not applicable — the waveguide projects the display at roughly [2] meters, so distance vision is what has to be sharp.
Cylinder (CYL) — Corrects astigmatism, an irregularity in the shape of the eye. If there's no CYL value on your prescription, you either don't have astigmatism or it's mild enough not to need correcting.
Axis (AXI) — Whenever there's a CYL value, there's an Axis. It's a number from 1° to 180° that sets the orientation of the astigmatism correction on the lens.
Add (near addition) — Applies to progressive lenses only. It's the extra power needed for near vision, applied to the lower portion of the lens.
*Progressive lenses are available exclusively through our optician partners.
PD (pupillary distance) — The distance between your pupils in millimeters. This is what aligns the optical center of each lens with your eye, and it matters more on a waveguide display than on ordinary glasses.
Single PD vs. two PD numbers
Single PD: one number, the total distance between both pupils.
Two PD numbers: if your PD differs between eyes, choose the "2 PD Numbers" option and enter the distance from the center of each pupil to the bridge of your nose (e.g. 33/31). Enter the right eye first, then the left.
How to measure your PD
Your PD is the distance between the centers of your pupils. Getting it right is what makes the lenses comfortable and the display sharp.
- Stand about 20 cm (8 inches) from a mirror.
- Hold a ruler horizontally against your forehead.
- Close your right eye and line the 0 mm mark up with the center of your left pupil.
- Open your right eye, close your left, and read the measurement at the center of your right pupil.
- Repeat a few times to check you're getting the same number.
Tips for an accurate measurement
- Wear your glasses. If you normally wear them, keep them on while you measure.
- Measure more than once. Take several readings and average them.
- Ask your eye doctor. If you're unsure, your optometrist can give you an exact PD in seconds.
Order your custom prescription lenses process
Expert advisors online · hassle-Free & time-Saving
Enter your prescription data
Submit Prescription
Place Order
Confirm Delivery
One Perfect Fit

Supported Diopter Ranges:
Mypia: Up to -7.50D | Astigmatism: Up to -4.50D
Combined myopia + astigmatism: Not exceeding -7.50D
Essilor 1.60 index lenses. Not sure your prescription is supported?
Email it to support@inmoxr.com before you order and we'll confirm it for you.
How to Obtain Prescription Data
INMO GO3 Lens Fitting Guide
Have your lenses cut and fitted to the GO3 prescription frame according to the lens template, then mount them into the frame. (To be performed by your lens-fitting service provider.)

Remove the silicone plug from the GO3 (use a fingernail or a similar thin tool to help lift it out).

Snap the assembled prescription frame into the slot.

Installation complete — as shown below.
*Note: for details on prescription lens customization, consult your supplier.

*Note: For details on myopic lens customization, consult your supplier.


